Cookie Consent

Cookies are used for statistical purposes and to improve the site.
Cookies will be used after you click "Accept" or if you continue using Dynisco.com
To find out more please review our Privacy Policy.

Accept

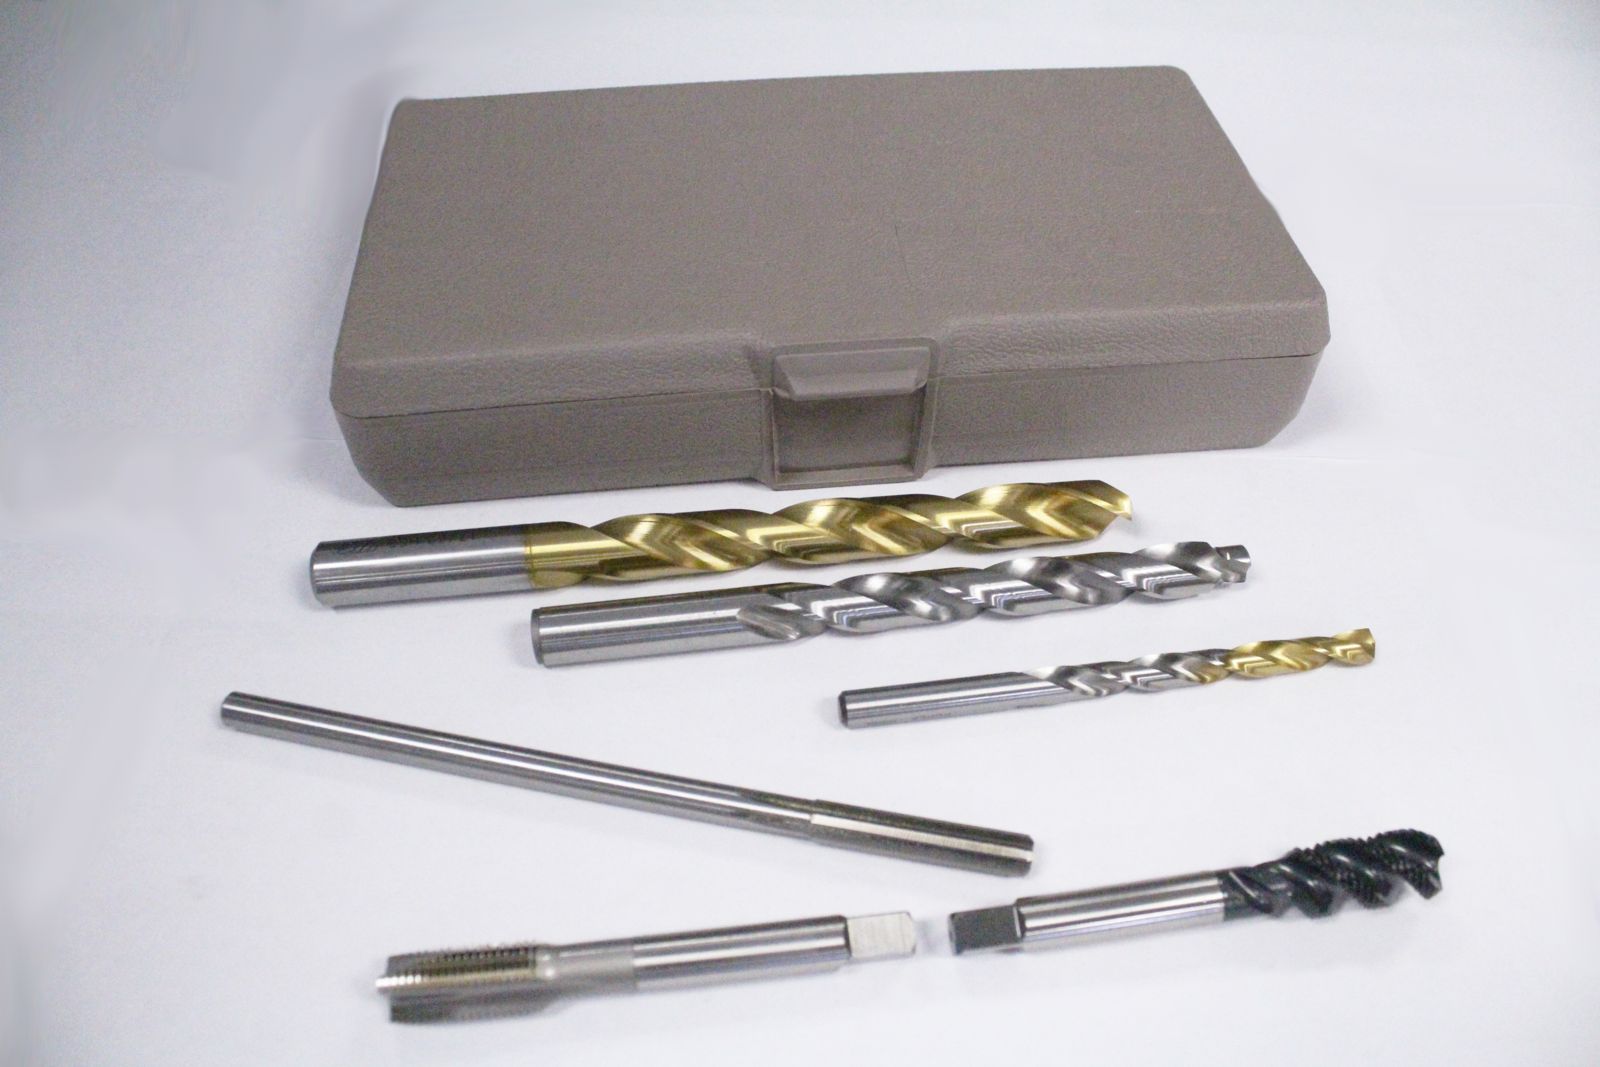
Transducer Mounting Hole Machining Tool Kit

The Dynisco Transducer Mounting Hole Machining Tool Kit contains all of the necessary drills and taps to prepare a standard 1/2 - 20 UNF transducer mounting hole and the 45 degree seat. All tools included in this kit are made of premium grade, high strength tool steel. Care should be taken in the use of proper speeds and feeds, lubricants, and a method to assure continual alignment of each progressing tool. M10 and M18 kits are also available.
Suggested Procedure
Step 1: Drill a hole with the 9/32" drill.
Step 2: Ream the hole with the 5/16" reamer.
Step 3: Consult the mounting hole drawing and calculate the depth required for the .451/.458" hole to leave .225" minimum length of the 5/16" (.312") diameter hole. Using the special 29/64" pilot drill, drill to the depth calculated above, perhaps leaving a little excess to be removed in step 7.
Step 4: Drill with the 17/32" drill, if necessary, so as to leave approximately 1" of the 29/64" diameter hole length.
Step 5: Tap with the 1/2 - 20 plug tap (tap with tapered lean) as deep as possible without striking the chamfered seating surface that was produced by the pilot drill.
Step 6: Tap to the final depth with the 1/2 - 20
UNF bottoming tap.
Step 7: Examine the seating surface of the mounting hole. If it has been marked by the tapping operation, touch it up with
the pilot drill.

Certifications

ISO 9001 Certificate

Videos

Dynisco Online Shop Overview

Dynisco’s Online Shop is where you can have access to ordering all Dynisco parts from Polymer Testing Equipment to Sensors to accessories- all to optimize your application.

Dynisco Pressure Sensor Care and Maintenance

In order to maintain your Dynisco pressure sensor's reliability and accuracy over time, certain maintenance and cleaning procedures should be followed. This video focuses on the removal, care, and maintenance process of a Dynisco pressure sensor from an extruder

Have A Question? Ask a Dynisco expert for more information.

  • Dynisco

    38 Forge Parkway,
    Franklin MA 02038

    +1 508 541 9400  

  • Dynisco Europe GmbH

    Pfaffenstr. 21, 74078,
    Heilbronn, Germany

    +49 7131 297 0

  • Dynisco-Viatran Instrument Sdn Bhd

    Lot 3615, Jalan SM 6/8
    32040 Seri Manjung, Perak, Malaysia     

    +605 6884014